How to Install a Navigation System in Toyota Alphard 2019
Upgrading your Toyota Alphard 2019 navigation system transforms your driving experience. It simplifies route planning, ensures accurate directions, and enhances convenience during long trips. Many Toyota Alphard owners prefer systems like the Audiosources navigation units, which integrate seamlessly with the vehicle's advanced Toyota Alphard Car Multimedia features. The Toyota Alphard Car Multimedia setup, including GPS navigation, Bluetooth, and Apple CarPlay, offers a user-friendly interface. Installing a navigation system not only boosts functionality but also adds value to your vehicle, making every journey more enjoyable and efficient.
Key Takeaways
Upgrading your navigation system enhances driving convenience and adds value to your Toyota Alphard 2019.
Gather essential tools like screwdrivers, trim removal tools, and a multimeter before starting the installation for a smoother process.
Ensure compatibility by selecting a navigation system specifically designed for the Toyota Alphard 2019 and verifying the wiring harness adapter fit.
Follow a step-by-step guide to safely disconnect the battery, remove the dashboard trim, and install the new navigation unit.
Test the system thoroughly after installation to confirm all features, including GPS and audio, are functioning correctly.
Consult the navigation system's manual for detailed instructions and troubleshooting tips to resolve common issues.
Consider professional assistance if you're unsure about any installation steps to ensure optimal performance and compliance with local regulations.
Tools and Materials for Installing Toyota Alphard 2019 Navigation

Before you begin installing a navigation system in your Toyota Alphard 2019, gather the necessary tools and components. Having everything ready ensures a smooth and efficient installation process.
Essential Tools
To complete the installation, you will need the following tools:
Screwdrivers (Phillips and flathead): These are essential for removing screws from the dashboard and securing the navigation system in place. Ensure you have both types to handle different screw heads.
Trim removal tools: These tools help you safely remove the dashboard trim without causing damage. They are specifically designed to prevent scratches or cracks on the interior panels.
Wire cutters and strippers: Use these to cut and strip wires for proper connections. They ensure clean and precise wiring, which is crucial for the system's functionality.
Multimeter for electrical testing: This tool helps you test electrical connections and verify voltage levels. It ensures that the wiring is correct and prevents potential issues during installation.
Required Components
In addition to tools, you will need specific components to install the navigation system. These include:
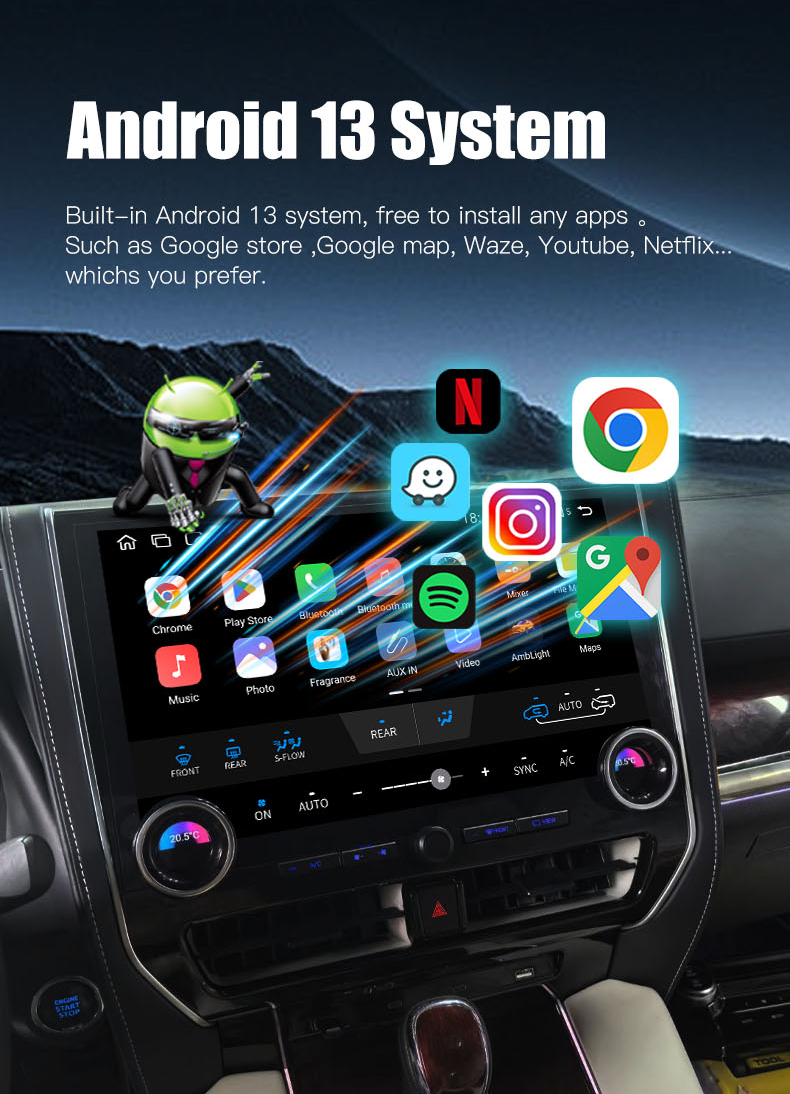
Navigation system unit compatible with Toyota Alphard 2019: Choose a unit designed for your vehicle, such as the MEKEDE M6 3D Android car video player or the 9-inch AVX Infotainment System. These systems often come with features like GPS navigation, Bluetooth, and Apple CarPlay.
Wiring harness adapter: This adapter connects the navigation system to your vehicle's existing wiring. It simplifies the installation process and ensures compatibility.
Mounting brackets: These brackets secure the navigation system in place. They provide stability and prevent the unit from shifting while driving.
GPS antenna: The antenna ensures accurate GPS signal reception. Place it in a location with minimal obstructions for optimal performance.
Optional: Backup camera for integration: If you want additional functionality, consider adding a backup camera. Many navigation systems, such as the Radio Android Car Stereo for Toyota Alphard, support this feature for enhanced safety.
Pro Tip: Some navigation systems, like the TOYOTA ALPHARD 10.1" RADIO GPS NAVI BT ANDROID 13.0 CARPLAY, offer plug-and-play installation. These systems simplify the process and reduce the need for extensive wiring.
By preparing these tools and components, you set yourself up for a successful installation. Each item plays a critical role in ensuring the navigation system functions seamlessly in your Toyota Alphard 2019.
Step-by-Step Guide to Installing Toyota Alphard 2019 Navigation

Preparing Your Vehicle
Disconnect the car battery to ensure safety.
Start by disconnecting the car battery. This step prevents electrical shocks and protects the vehicle's electronic components during the installation process. Locate the battery under the hood, then use a wrench to loosen the negative terminal. Remove the cable and secure it away from the battery to avoid accidental reconnection.
Remove the dashboard trim using trim removal tools.
Next, remove the dashboard trim to access the factory stereo unit. Use trim removal tools to carefully pry off the panels. Begin at the edges and work your way around to avoid damaging the trim. Refer to the Toyota Alphard 2019 December Edition Instruction Manual for guidance on locating hidden screws or clips. Place the removed trim pieces in a safe spot to prevent scratches or loss.
Installing the Navigation System
Remove the factory stereo unit carefully.
Once the trim is removed, unscrew and detach the factory stereo unit. Use a Phillips screwdriver to loosen the screws securing the unit. Gently pull the stereo out, ensuring you do not strain the attached wires. Disconnect the wiring harness and antenna cables by pressing the release tabs and pulling them out.
Connect the wiring harness adapter to the vehicle's wiring.
Take the wiring harness adapter and connect it to the vehicle's existing wiring. Match the color-coded wires to their corresponding connections. This adapter ensures compatibility between the new navigation system and your Toyota Alphard 2019. Use wire cutters and strippers to prepare the wires if necessary, and secure the connections with electrical tape or connectors.
Mount the GPS antenna in a clear location.
Position the GPS antenna in a location with minimal obstructions, such as the dashboard or near the windshield. A clear view of the sky ensures accurate signal reception. Use the adhesive backing or mounting hardware provided with the antenna to secure it firmly in place.
Secure the navigation system unit using mounting brackets.
Insert the new navigation system unit into the dashboard opening. Use the mounting brackets included with the system to secure it in place. Align the brackets with the screw holes and tighten them with a screwdriver. Ensure the unit sits flush with the dashboard for a professional finish.
Finalizing the Installation
Reconnect the car battery and test the system.
Reconnect the car battery by attaching the negative terminal and tightening it with a wrench. Power on the vehicle and test the navigation system. Check the display, GPS functionality, and audio output to ensure everything works correctly. Follow the on-screen setup instructions to configure the system.
Reinstall the dashboard trim and ensure all components are secure.
Finally, reinstall the dashboard trim by aligning it with the mounting points and pressing it into place. Replace any screws or clips removed earlier. Double-check that all components, including the navigation system and trim, are securely installed. This step completes the installation process, leaving your Toyota Alphard 2019 navigation system ready for use.
Pro Tip: If you encounter issues during installation, consult the navigation system's user manual or the Toyota Alphard 2019 December Edition Instruction Manual for troubleshooting tips.
Ensuring Compatibility and Software Setup for Toyota Alphard 2019 Navigation
Ensuring compatibility and setting up the software correctly are crucial steps when installing a navigation system in your Toyota Alphard 2019. These steps guarantee that the system integrates seamlessly with your vehicle and functions as intended.
Verifying System Compatibility
Confirm the navigation system is designed for Toyota Alphard 2019.
Before proceeding, confirm that the navigation system you have selected is specifically designed for the Toyota Alphard 2019. Many systems, such as the Toyota Alphard Android Player, are engineered to integrate effortlessly with this model. These systems support features like Bluetooth, Wi-Fi, and multimedia formats, ensuring a smooth user experience. Check the product specifications or consult the seller to verify compatibility.
Check the wiring harness adapter for proper fitment.
The wiring harness adapter plays a vital role in connecting the navigation system to your vehicle's existing wiring. Inspect the adapter to ensure it matches the Toyota Alphard 2019's wiring configuration. A properly fitting adapter simplifies the installation process and prevents electrical issues. If you are unsure, refer to the Toyota Alphard 2019 December Edition Instruction Manual or seek advice from a professional installer.
Tip: Using a plug-and-play navigation system, such as the 10.1" Radio GPS Navi BT Android 13.0 Carplay, can eliminate the need for extensive wiring modifications.
Configuring the Software
Update the navigation system firmware if necessary.
Once the hardware is installed, check if the navigation system requires a firmware update. Updated firmware ensures optimal performance and access to the latest features. Connect the system to a Wi-Fi network and navigate to the settings menu to check for updates. Follow the on-screen prompts to download and install the latest version.
Follow on-screen instructions to set up GPS and calibrate the system.
After updating the firmware, proceed with the initial setup. The system will guide you through configuring the GPS and calibrating the display. Place the GPS antenna in a clear location, such as near the windshield, to ensure accurate signal reception. Follow the prompts to input your preferences, such as language, time zone, and map settings. Calibration ensures the touchscreen responds accurately to your inputs.
Pro Tip: Some systems, like the Radio Android Car Stereo for Toyota Alphard, include advanced features such as real-time GPS tracking and backup camera integration. Explore these options during the setup process to maximize functionality.
By verifying compatibility and completing the software setup, you ensure that your Toyota Alphard 2019 navigation system operates efficiently. These steps not only enhance the system's performance but also provide a seamless driving experience.
Troubleshooting Common Issues with Toyota Alphard 2019 Navigation
Even with careful installation, you might encounter some issues with your Toyota Alphard 2019 navigation system. Addressing these problems promptly ensures the system functions as intended. Below are common issues and practical solutions to resolve them.
System Not Powering On
Check for loose or incorrect wiring connections.
If the navigation system does not power on, inspect the wiring connections first. Loose or improperly connected wires often cause power issues. Remove the dashboard trim and verify that all wires are securely connected to the wiring harness adapter. Match the wire colors correctly to avoid mismatched connections. Tighten any loose connections to restore power.
Test the fuse and replace it if blown.
A blown fuse can also prevent the system from powering on. Locate the fuse box in your Toyota Alphard 2019 and identify the fuse linked to the navigation system. Use a multimeter to test the fuse for continuity. If the fuse is blown, replace it with one of the same amperage rating. Recheck the system after replacing the fuse to confirm it powers on.
Pro Tip: Keep spare fuses in your vehicle for quick replacements when needed.
GPS Signal Problems
Ensure the GPS antenna is mounted in an unobstructed location.
Poor GPS signal reception often results from improper antenna placement. Check the location of the GPS antenna and ensure it has a clear view of the sky. Avoid placing it under metal surfaces or near electronic devices that may interfere with the signal. Relocate the antenna to the dashboard or near the windshield for optimal performance.
Verify the antenna connection to the navigation unit.
A loose or disconnected antenna cable can disrupt GPS functionality. Inspect the cable connecting the GPS antenna to the navigation unit. Ensure the connection is secure and free from damage. Reconnect the cable firmly if it appears loose. Test the GPS signal after making adjustments to confirm the issue is resolved.
Tip: For consistent signal strength, clean the antenna's surface and surrounding area to remove dust or debris.
Audio or Display Malfunctions
Confirm the wiring harness is properly connected.
Audio or display issues often stem from improper wiring. Double-check the wiring harness connections to ensure they are secure and correctly matched. Look for any damaged or frayed wires that might affect the system's performance. Replace damaged wires and reconnect the harness to restore functionality.
Reset the system to factory settings if necessary.
If the audio or display malfunctions persist, perform a factory reset on the navigation system. Access the system's settings menu and select the reset option. This action restores the system to its default configuration, resolving software-related glitches. After resetting, reconfigure the system settings to suit your preferences.
Note: Back up any custom settings or data before performing a factory reset to avoid losing important information.
By addressing these common issues, you can ensure your Toyota Alphard 2019 navigation system operates smoothly. Regular maintenance and prompt troubleshooting keep the system reliable and enhance your driving experience.
Tips for a Smooth Installation of Toyota Alphard 2019 Navigation
Preparation and Planning
Read the navigation system's manual thoroughly before starting.
Before beginning the installation, take time to read the navigation system's manual. The manual provides essential details about the system's features, wiring connections, and setup process. Understanding these instructions helps you avoid mistakes during installation. Pay close attention to diagrams and step-by-step guides included in the manual. These resources clarify how to handle specific components and ensure proper integration with your Toyota Alphard 2019 navigation system.
Allocate sufficient time for the installation process.
Set aside enough time to complete the installation without rushing. A well-paced approach allows you to focus on each step and reduces the risk of errors. Depending on your experience, the process may take several hours. Plan your schedule accordingly to avoid interruptions. Having ample time ensures you can double-check connections, test the system, and make adjustments if needed. This preparation leads to a smoother and more successful installation.
Seeking Professional Assistance
Consult a professional installer if you're unsure about any step.
If you feel uncertain about any part of the installation, reach out to a professional installer. Experts have the knowledge and tools to handle complex wiring and system configurations. They can ensure the navigation system integrates seamlessly with your vehicle's existing setup. Professional assistance minimizes the risk of damage to your car's electronics and guarantees optimal performance. Don't hesitate to seek help if you encounter challenges beyond your expertise.
Ensure the installation complies with local regulations.
Verify that the installation adheres to local laws and regulations. Some regions have specific rules regarding modifications to vehicle electronics. For example, improper wiring or placement of components may violate safety standards. Consulting a professional installer ensures compliance with these requirements. Following regulations not only keeps you safe but also prevents potential legal issues. Always prioritize safety and legality when installing your Toyota Alphard 2019 navigation system.
Pro Tip: Even if you choose to install the system yourself, consider having a professional inspect your work. This step provides peace of mind and ensures everything functions correctly.
By preparing thoroughly and seeking assistance when needed, you can achieve a smooth and efficient installation. These tips help you avoid common pitfalls and ensure your Toyota Alphard 2019 navigation system operates flawlessly.
Installing a navigation system in your Toyota Alphard 2019 enhances your driving experience by adding convenience and functionality. By following the detailed steps in this guide and using the right tools, you can complete the installation with confidence. If challenges arise, refer to the troubleshooting tips or consult a professional for assistance. For high-quality systems, consider options like those from Iceboxauto, which provide excellent in-car entertainment solutions tailored for Toyota Alphard models. Upgrading your vehicle with a reliable navigation system ensures smoother journeys and adds value to your car.
See Also
Upgrade Your Journey with Mercedes Vito Smart Screen
Setting Up Waterproof CarPlay for Motorcycles and GPS
Exploring Apple CarPlay Compatibility with Indian Motorcycle Systems
Follow Us
Audiosources shenzhen Limited is a high technlogy manufacture which was founded in 2006 yeas. The company's main products include Android car dvd player, carplay ai box, car climate panel, carplay screen,ect.
We have our own R&D team,can delop the OEM and ODM projects for different demand. we already did ODM products for Mecerdes Benz, Volkswagen, Toyota brand cars. welcome to inquiry and order. Thanks.
Address
3rd Floor, Building 1, Haopeng Wisdom Park, No. 141-1 Furui Road, Xintian Community, Fuhai Street, Baoan District, Shenzhen,Guangdong , China
Contacts
marketing@audiosources.net
+86 134 3478 4461